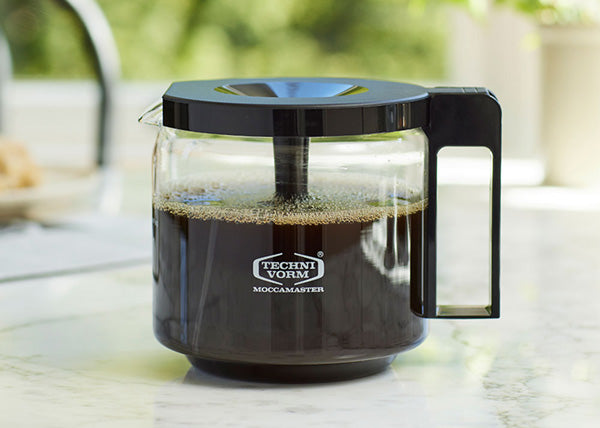
Congratulations on bringing home your new Moccamaster coffee brewer!
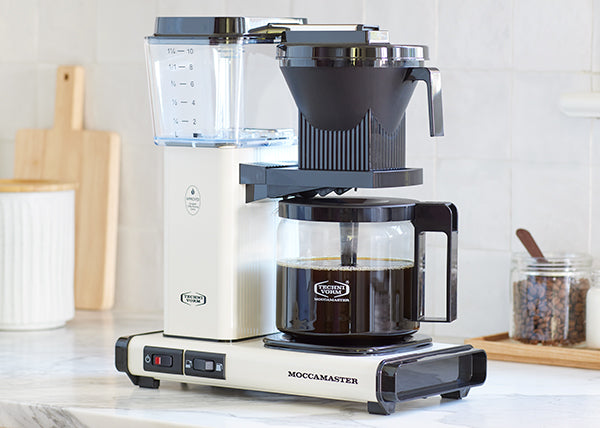
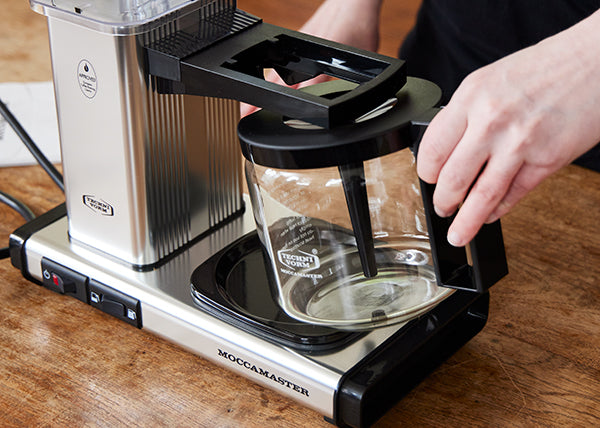
When you open your box, you'll find the brewer components methodically organized within to avoid wasteful packaging. Assembly is easy once you familiarize yourself with the parts. The images below will guide you through assembling a glass carafe model but will also provide helpful guidance for our other brewer styles.

After opening the box and removing the instruction manual, you'll find a small cardboard insert containing most of your brewer's smaller components. Putting that aside, you'll see a large cardboard insert with your coffee brewer inside.
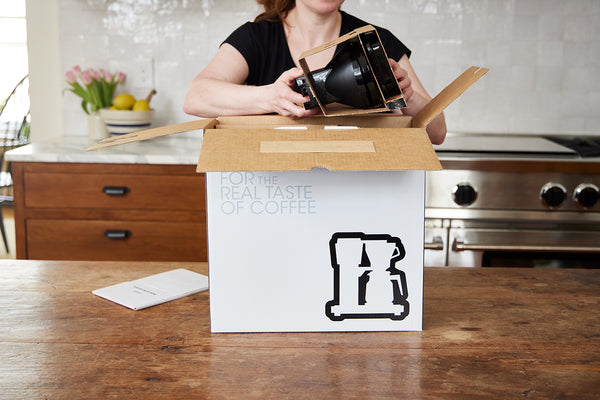
Carefully pull the cardboard insert with the brewer out of the box. On a flat surface, unfold the cardboard to reveal your machine. Remove it from the cardboard, and if your model has a glass carafe, remove its protective plastic bag and place it back on the hotplate.

Now open the smaller cardboard container and remove your brew basket, brew basket lid, water reservoir lid, water outlet arm, and brown coffee scoop.

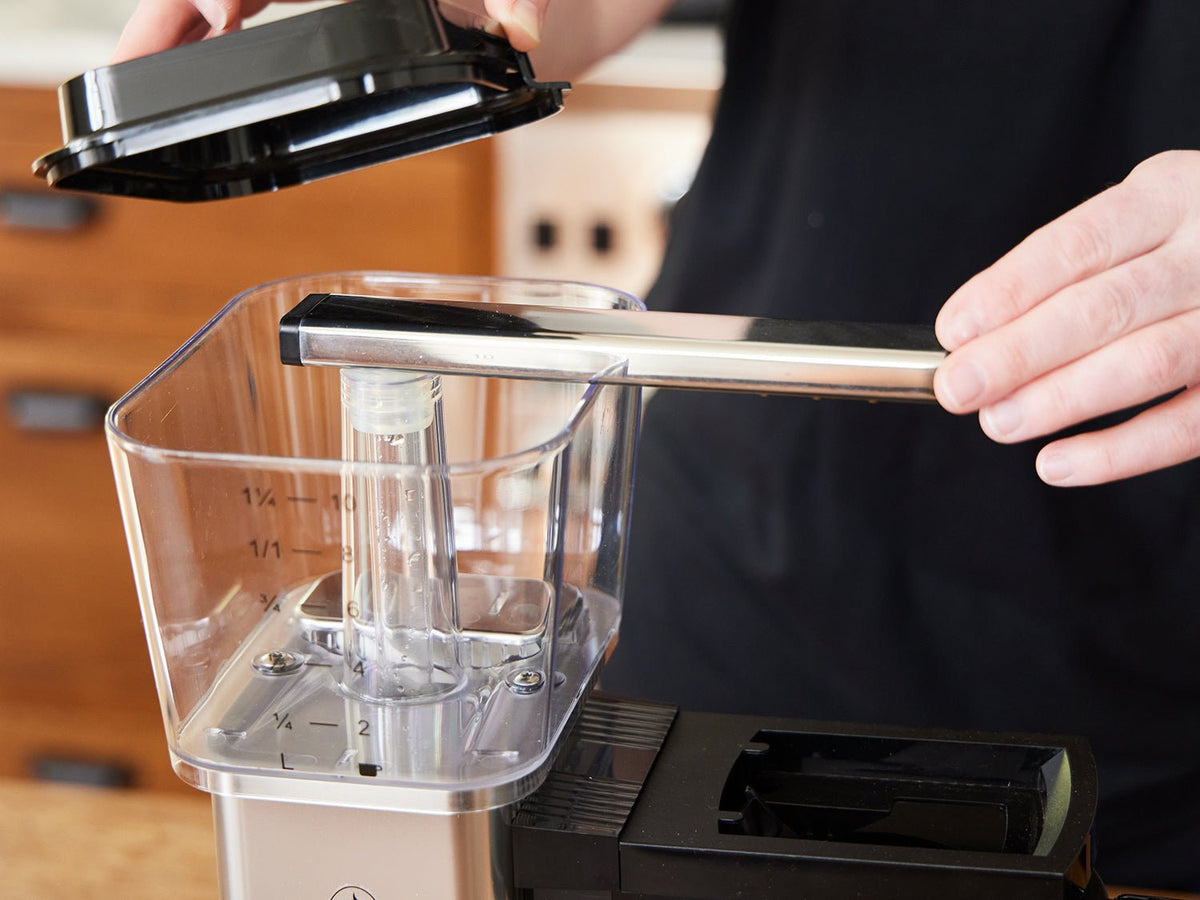
Locate the silver 9-hole outlet arm and attach it to the top of your water reservoir. Place the lid on the water reservoir.*

Place your brew basket on the brew basket bracket directly over the carafe, then add its lid.

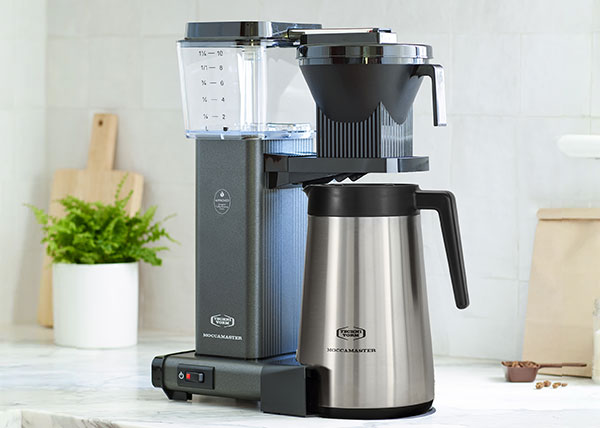
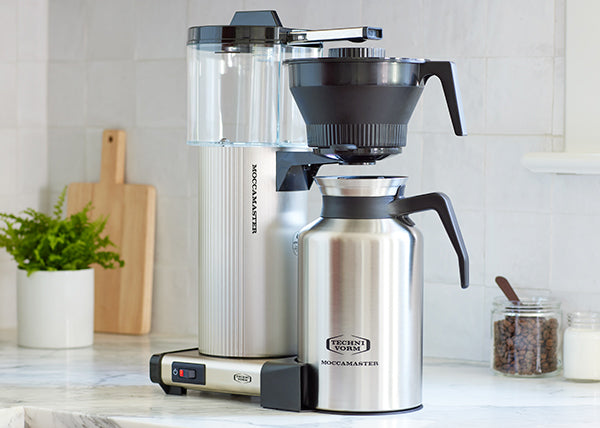
If you have a KBGT, CDGT, or CDT Grand thermal carafe model, you will need to use the included footplate for proper functionality. Attach the flat, black footplate to the base of the brewer by tilting the brewer back slightly and sliding the footplate under so that it connects with the edge under the brewer.

Your Moccamaster is assembled and ready to brew! Now it's time to learn how to use your coffee brewer. If you have any questions, don't hesitate to visit our website's customer support center or call us directly at 855.662.2200.
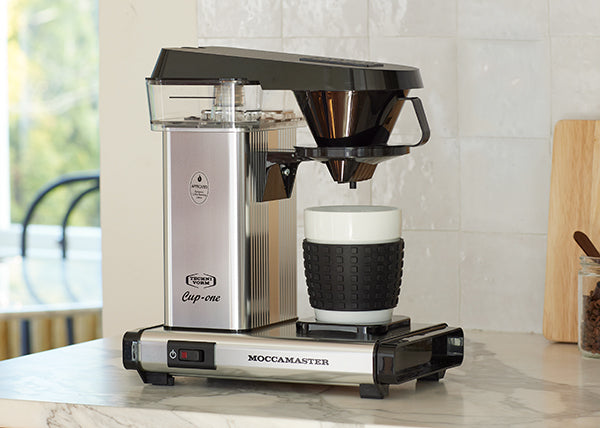
* For Cup-One models, you will need to put the brew basket in place before adding the lid, which covers both the water reservoir and brew basket.


